How to Add and Subtract Fractions Explained!
How can you add and subtract fractions with different denominators?
Welcome to this free lesson guide that accompanies this Adding and Subtracting Denominators with Unlike Denominators video lesson, where you will learn how to add and subtract fractions:
Adding Fractions
Subtracting Fractions
Unlike Denominators
How to add and subtract fractions with the same denominator
How to add and subtract fractions with different denominators
This How to Add and Subtract Fractions with Unlike Denominators: Complete Guide includes several examples, a step-by-step tutorial, an animated video mini-lesson, and a free worksheet and answer key.

*This lesson guide accompanies our animated Adding and Subtracting Fractions with Unlike Denominators on YouTube.
Want more free math lesson guides and videos? Subscribe to our channel for free!
Before you learn how to add and subtract fractions you need to understand some key vocabulary first.
Adding and Subtracting Fractions with the Same Denominator
Let’s start by reviewing the difference between a numerator and a denominator:

How to Add and Subtract Fractions with Like Denominators
In the above example, 1/5 and 3/5 have common denominators (both equal 5). To add them together, you just have to add the numerators together and leave the denominator alone as follows:


Since 4/5 can not be simplified any further, you can conclude that:
1/5 + 3/5 = 4/5
But what about when the denominators are not the same?
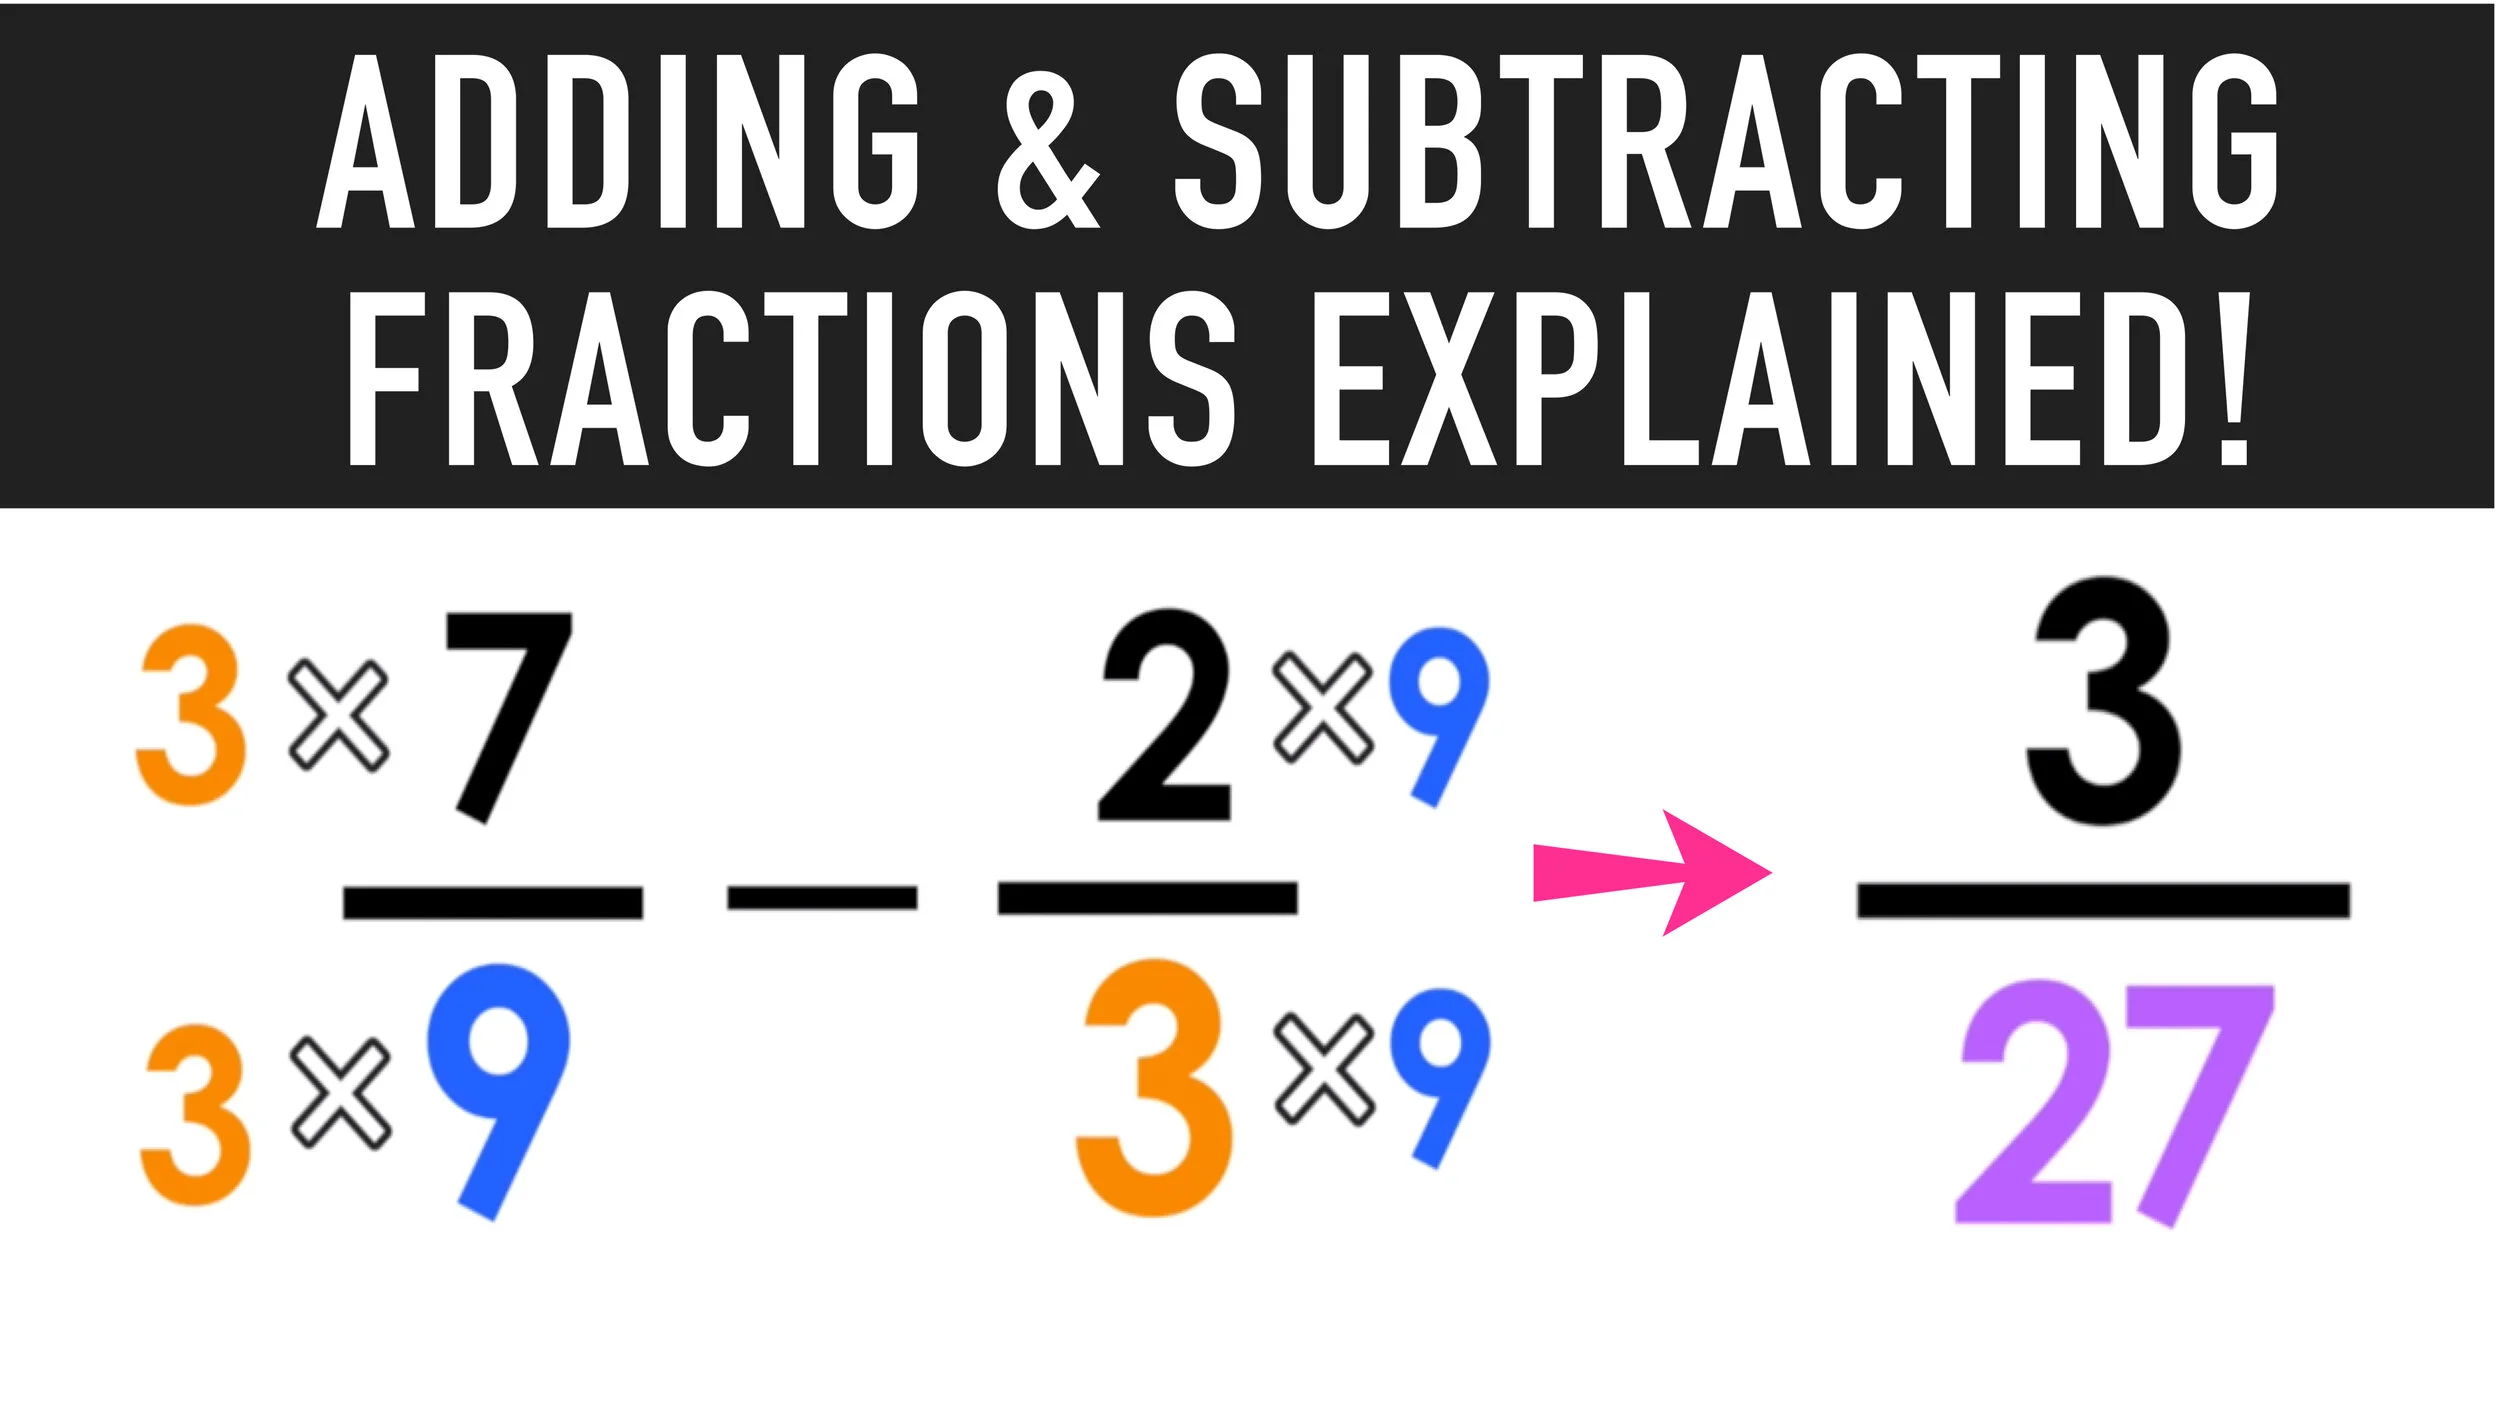
Adding and Subtracting Fractions with Unlike Denominators
How do you add and subtract fractions when the denominators are different?
You can use the following 3-step process for adding and subtracting fractions (with and without common denominators).

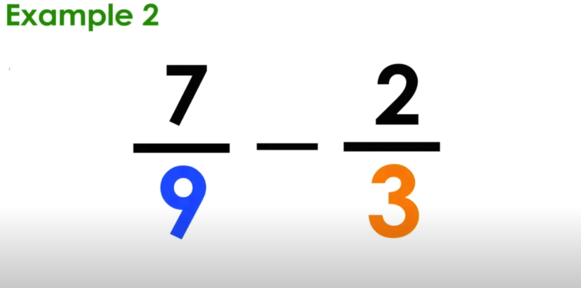
Subtracting Fractions with Unlike Denominators Example
STEP ONE: Get a common denominator.


How to add and subtract fractions.
STEP TWO: Add or subtract the numerators.


STEP THREE: Simplify the result if needed.
Notice that 3/27 can be simplified, since the numerator and denominator are both divisible by 3.


And that’s all there is to it!
Final Answer:

Adding and Subtracting Fractions with Unlike Denominators: Video Tutorial
Still confused? Check out the animated video lesson below:
Check out the video lesson below to learn more about adding and subtracting fractions and for more free practice problems:
Keep Learning with More Free Lesson Guides:


Have thoughts? Share your thoughts in the comments section below!
(Never miss a Mashup Math blog--click here to get our weekly newsletter!)
By Anthony Persico
Anthony is the content crafter and head educator for YouTube's MashUp Math. You can often find me happily developing animated math lessons to share on my YouTube channel . Or spending way too much time at the gym or playing on my phone.